Interior Painting Tips for DIY Home Painters in Connecticut
- Jul 18, 2025
- 4 min read
Expert Tips to Achieve a Professional Finish in Every Room

Are You Starting A New Home Painting Project?
Painting the inside of your home is one of the most affordable and impactful ways to transform your space. Whether you’re brightening a dull room, changing your color scheme, or preparing your home for sale, a fresh coat of paint can work wonders. But while interior painting may seem like a simple task, there’s a lot more to it than dipping a brush and rolling away.
At Rest Tech Painting, we’ve helped countless Connecticut homeowners achieve professional-looking results when painting their homes. If you’re planning to take on a DIY painting project in New Haven, Fairfield, or Hartford County, here are some essential tips to help you succeed.
8 Professional Painting Tips For A Flawless Finish
1. Don’t Skip Surface Preparation
The secret to a flawless paint job lies in the prep work. Before you even open a can of paint, make sure your walls are clean, dry, and smooth.
Clean the Walls: Use a mild soap solution to remove dirt, grease, and dust. Kitchens and bathrooms often require extra attention due to residue build-up.
Repair Imperfections: Patch any holes, cracks, or dents with spackle or joint compound. Once dry, sand the area smooth.
Protect Your Space: Cover furniture with drop cloths and use painter’s tape to protect trim, baseboards, windows, and doorframes.
A few extra hours of preparation can save you days of touch-ups later!

2. Choose the Right Tools and Materials
Professional painters rely on high-quality tools for a reason - they make a big difference in the final result. For Connecticut DIY painters, investing in the right materials is key:
Rollers and Brushes: Use rollers for large walls and ceilings, and angled brushes for corners and edges.
Primer: Always have primer on hand, especially if you’re painting over dark colors, new drywall, or surfaces with stains.
Paint Tray Liners & Extension Poles: These small investments will make your job cleaner and more efficient.
The right tools can improve quality & efficiency of your next painting project!

3. Don’t Forget to Prime Before You Paint
One of the most common mistakes DIY painters make is skipping the primer. Primer creates a uniform surface for paint to adhere to and helps prevent stains and uneven color.
When should you prime?
Painting over a dark or bold color.
Covering patched or repaired areas.
Painting new drywall or raw wood.
Switching from oil-based to latex paint.
Using a high-quality primer ensures better coverage and fewer coats of paint in the long run.
4. Calculate How Much Paint You Need Before You Begin
Running out of paint mid-project is every DIYer’s nightmare. On the other hand, overbuying can be costly and wasteful.
A general rule of thumb: one gallon of paint covers about 350-400 square feet.
To estimate how much paint you’ll need:
Measure the height and width of your walls to calculate square footage.
Subtract the space taken up by windows and doors.
Multiply by the number of coats (most projects require two coats for a professional finish).
When in doubt, it’s better to round up slightly - especially if you’re painting textured walls that soak up more paint. Plus, having a little extra is good if you ever need to do future touch-up work.
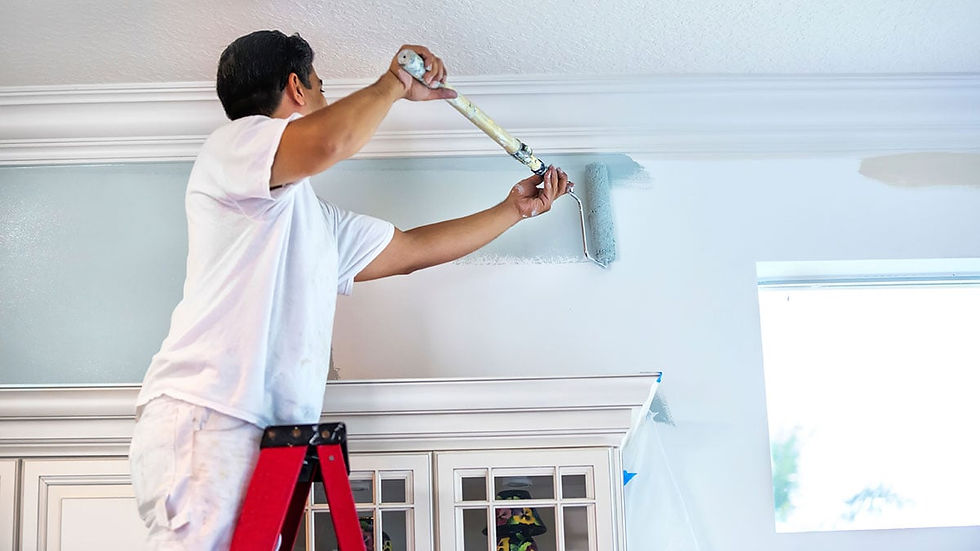
5. Use Proper Painting Techniques
Even with great prep work and high-quality paint, poor technique can lead to streaks, drips and roller marks.
Pro Painting Techniques to Follow:
Start with the Edges: “Cut in” around trim and corners with a brush before using a roller.
Work in Small Sections: Roll paint in overlapping “W” or “M” shapes, then fill in to create even coverage.
Avoid Overloading the Roller: Too much paint can lead to drips; too little will result in uneven coats.
Always take your time and maintain a wet edge to avoid lap marks.

6. Plan Time for Drying and Second Coats
Allow the first coat to dry fully before applying the second. In most cases, wait 2-4 hours depending on the paint type and Connecticut’s humidity levels.
Two coat of paint are typically needed for rich, even color - especially if you’re covering up a darker shade beneath.
7. Don’t Neglect the Cleanup
Once the walls are painted, cleanup is your final step to achieving a polished finish.
Pro Cleanup Tips:
Remove painter’s tape before the paint fully dries to prevent peeling.
Wash brushes and rollers immediately if you plan to reuse them.
Dispose of empty paint cans and materials responsibly. Many Connecticut towns offer paint recycling programs.
A thorough cleanup not only protects your tools for future use but also leaves your home looking pristine.
8. Know When to Call a Professional
While DIY painting can save money, some situations call for a professional touch:
Vaulted ceilings or multi-story walls.
Intricate trim or decorative finishes.
Lead paint removal in older Connecticut homes (Rest Tech Painting is certified in lead paint abatement).
Hiring an experienced painting company like Rest Tech Painting ensures a faster, cleaner process and flawless results.
Why Connecticut Homeowners Trust Rest Tech Painting
If your DIY painting project feels overwhelming, our team is here to help. At Rest Tech Painting, we bring professional expertise, high-quality materials, and eco-friendly practices to every job. From Branford and Guilford to Madison, Milford, and beyond, we’re proud to serve homeowners across the Connecticut Shoreline.
Whether you’re looking to revitalize your interiors or protect your home’s exterior from the elements, we have the skills and experience to get it done right.
Ready for a Fresh Coat of Confidence?
Contact Rest Tech Painting For Expert Home Painting Near You!
Give your home the stunning transformation it deserves. Contact Rest Tech Painting today for a FREE Estimate & Consultation and discover why we’re the go-to painting company for Connecticut Shoreline homeowners.


